|
What I think tessellations means is trying make a cool picture out of any photo. What i did to make a tessellation i cropped out the photo i wanted. I resized my photo to 1in, 2in and 4in to fit the layout. I moved the photo onto a layout and copied the layer of the photo multiple times.On the 4 in layout i flipped the copied layers horizontally and another vertically and then the forth copied layer horizontally and vertically to get the cool pattern. I like the creative process and making the actual tessellation. My favorite image was the tessellation of luis face because it was hilarious. I didn't have any hard times with this once i started i finished very quickly. If i did it over again i would merge the layers so i would finish even quicker then before.
0 Comments
What i learned about portraiture at that the duck pond is that there are a lot of good spots and backgrounds that could be used in your photo. I learned how difficult it was because it was really bright and the reflector kept blinding the subjects. i Also learned that you had to be creative and find the perfect spot for each pose.Since their were three rows going down we each took a row. We choice by just choosing really whichever row for us it didn't really matter. The way we chose our poses was helpful because we didn't waste any time bickering on who would get what. The reflector we used it when the subject was in the shade to give them more lighting so that there isn't as many shadows on their face. The reflector was very useful . It made the model look professional it defined their face more and just overall gave it a better look. To retouch the photos i added more brightness and saturated the photos a bit more. I also increased the definition a bit.For three of the Photos i used photoshop to remove blemishes and to make the subjects skin a bit more flawless.A lot of people hire portrait Photographers for parties ,weddings, or any kind of bid celebration that is going on.
I used girl scout cookies and i bought these two jars one had milk and the other had cocoa powder with choco chips and mints on top.
Anthony Buenrostro, Class of 2018, Sunshine
This is a picture of some tree and of the sun peeking over the hill. I named this photo “Sunshine” because it has the feeling of the morning sunrise and the sunshine is shining through the tree giving it sort of like a warm feeling.This was taken in Jalisco around 10 in the morning on the way to go see a waterfall. I made this Photo by using an app called VSCO to edit the photo and i made it darker in the shows and made it have a cooler/ morning feel to it. I like this photo because of how there is just one tree and the sun is shining above it and the people in the photo sort of feels like they are going on an adventure or something. I believe that this is a successful photo because it expresses a lot and it can have multiple meanings. Describing myself as an artist is difficult because I’m not a very creative person but when the creativity hits me i can make some pretty good photos. I have learned a lot this year , I learned how to use each setting on the camera for what its used for.I also learned about photoshop and how to used it and that their are multiple ways to do something..I looking forward to take more photos and to learn to be proficient in photoshop.  What I did was that i went to the common folder and downloaded the template to photoshop. Then i chose the photos i wanted and made them black white and i made the photos around the same brightness so they don't look weird.Once I finished that I put them in photoshop and did edit >transform>scale and resize it to fit in the template blue outline. I was unclear on how to resize my photo because it didn't look good it looked pixelated a little and i didn't like it but i ended up leaving it like that. I was proud of figuring out that it was supposed to look like that and i didn't really watch the video. I like how my artwork is pretty clear and you can see my name really easy. To improve my artwork I think I could've used other photos I had to make it look better and not as simple.
Steps: I tried to find on the internet two photos of a celebrity and a bodybuilder. Once I found the two pics i went to Photoshop and put 1 of the photos in the program. I went out and took a pic of a face shot and i put that Photo with either the celebrity or bodybuilder pic in Photoshop. I resized the images, the main photo to 300 and 6 and the face shot to 300 and 3. I used the lasso tool to crop out my face and used the move tool to move it to the bodybuilders body. I changed the opacity of my face and resized my face so it fit perfect and i used little rotation. Once the face looked perfect i used the layer mask to erase part of my head so it didnt look wierd. I ended up changing the brightness of my face and contrast . Once I was done I merged the layers and saved the photo. 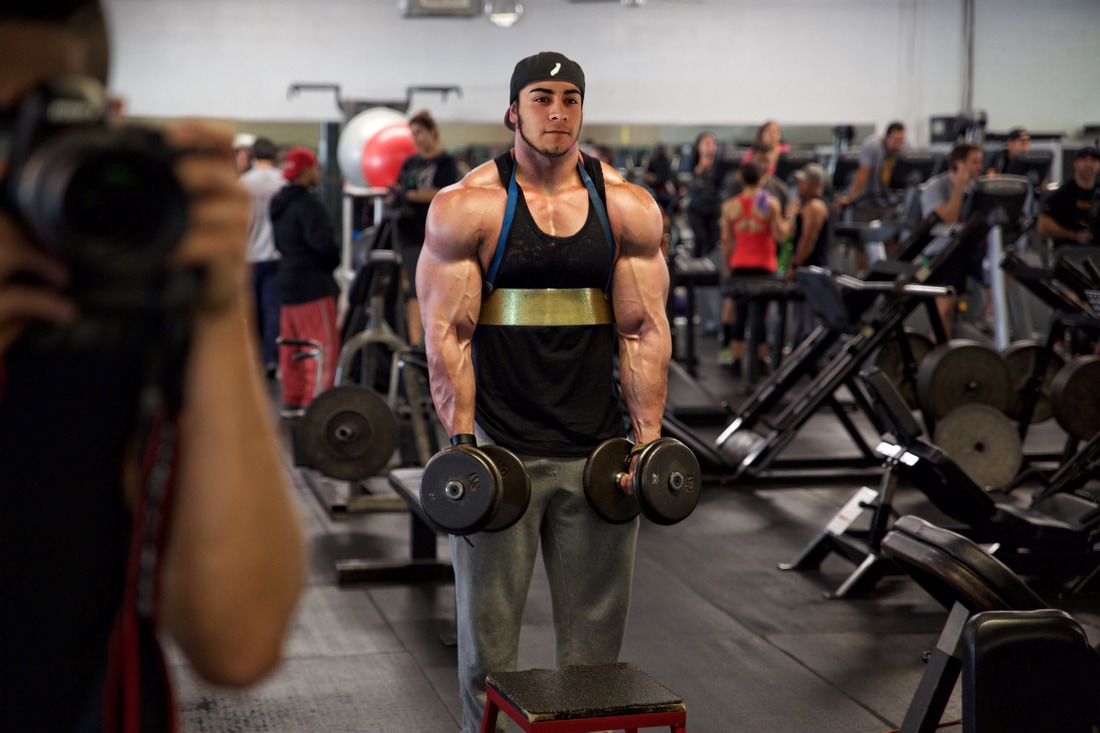 In this photo in ten years i am a bodybuilder . I am currently in the Gym working out. Its arm day and Im using an arm blaster so their is minimal swing. Ive got a friend named Kevin who takes photos and progress shots for the gram. Im currently in a program called the lean bulk. The program is where i try to lose mass but keep the strength. 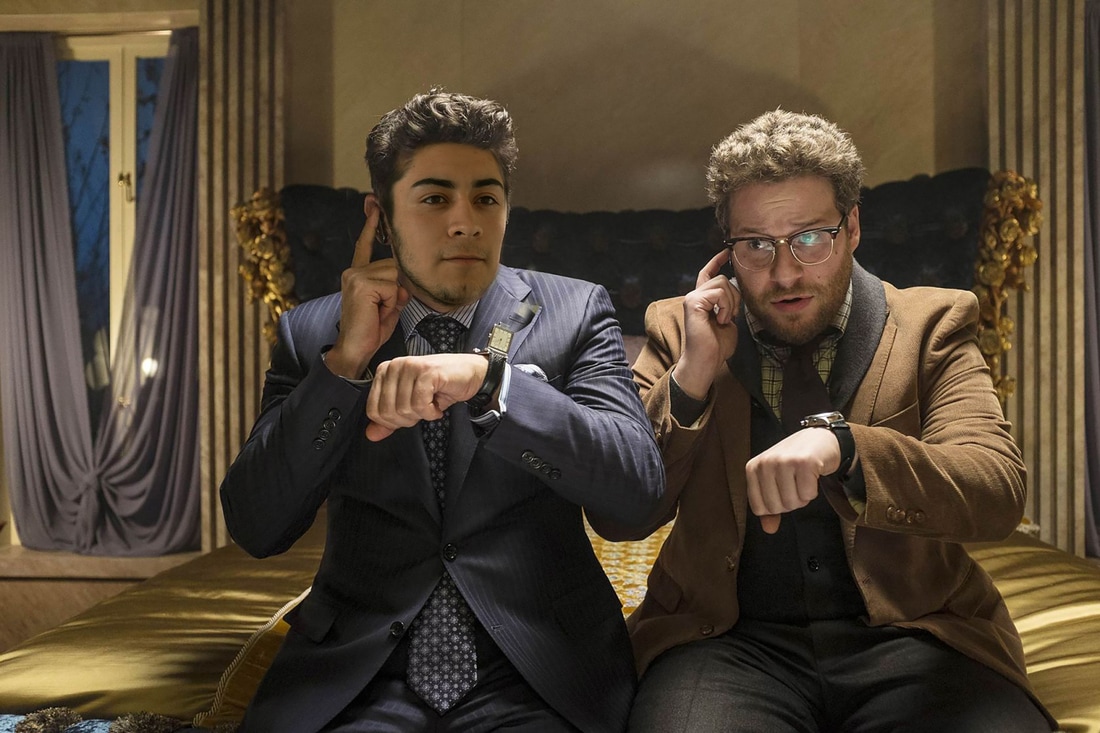 I am James Franco in this picture who is staring in "The Interview". He is currently trying to figure out if the ruler of north Korea has nuclear weapons. In the photo he is contacting his boss through the watch to get order. He is with Seth Rogen who is his partner in this movie. They both try in their own way to kill the ruler of North Korea but there ideas were dumb and wouldn't work because they aren't serious enough to go through with it.
|
AuthorAnthony Buenrostro the one and only. Gainz for Days Archives
May 2017
Categories |
 RSS Feed
